The Tarzan Panorama Background Restoration Initiative
Usually I am all in favour of preservation, but in this case I decided that since we have three sets of used Tarzan Panorama backgrounds scans, I would prioritise restoration instead — even though restoration unavoidably entails a certain amount of destruction.
So, in order to show you what the background looked like in its original unused glory, I set about restoring the first of the three Panoramas shown on the previous page. This one, in case you're interested, we designated "X1"!
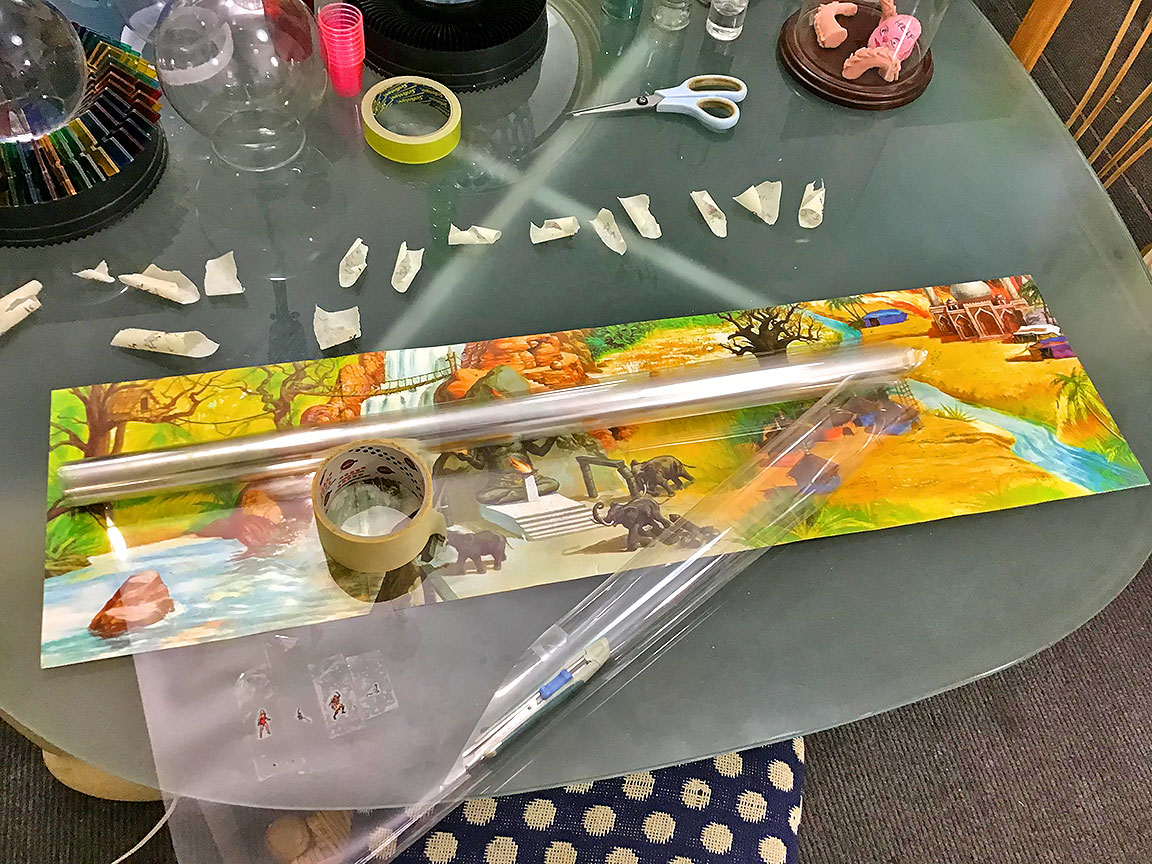
"Restoring" unfortunately implies "removing all traces of the transfers". So here goes…
The top half of this photo shows the "halo" (plastic film) on which transfers are printed. This is the bit that sticks to the background with a layer of wax. Normally you can't easily see it (see the bottom half). Note the monkey at the top…
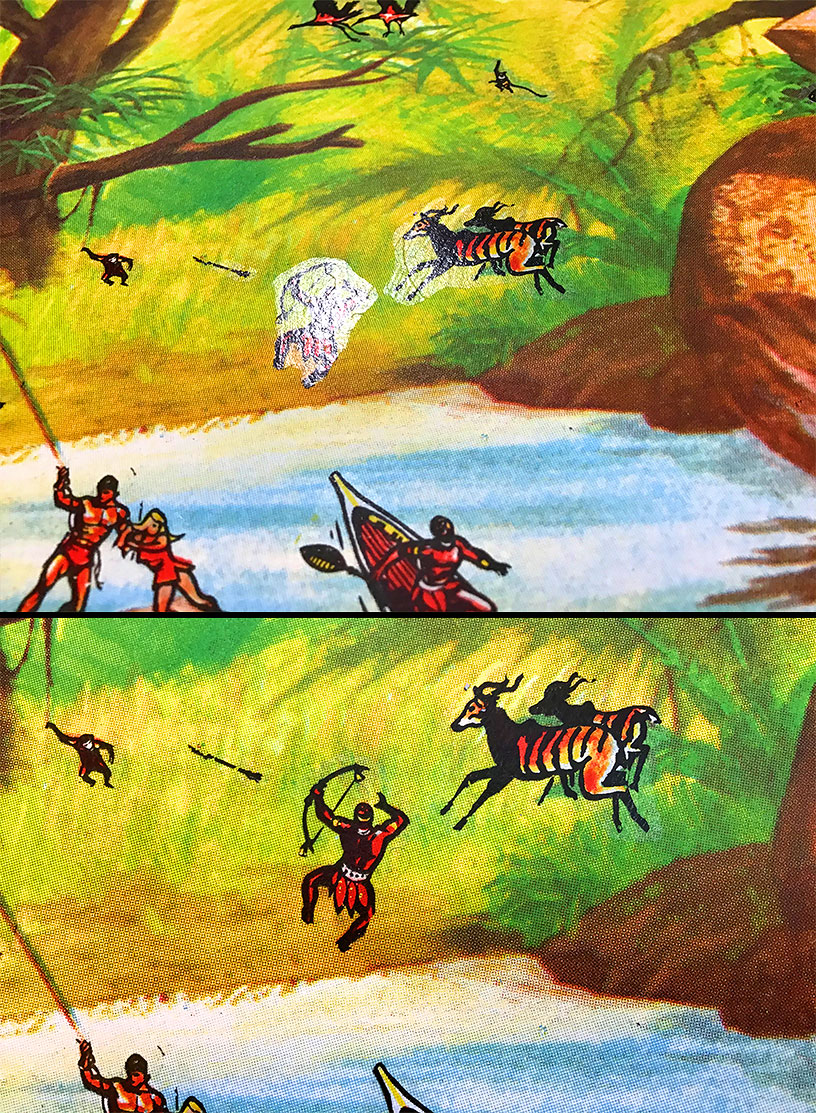
The hairs have been there since 1967 — so don't blame me!
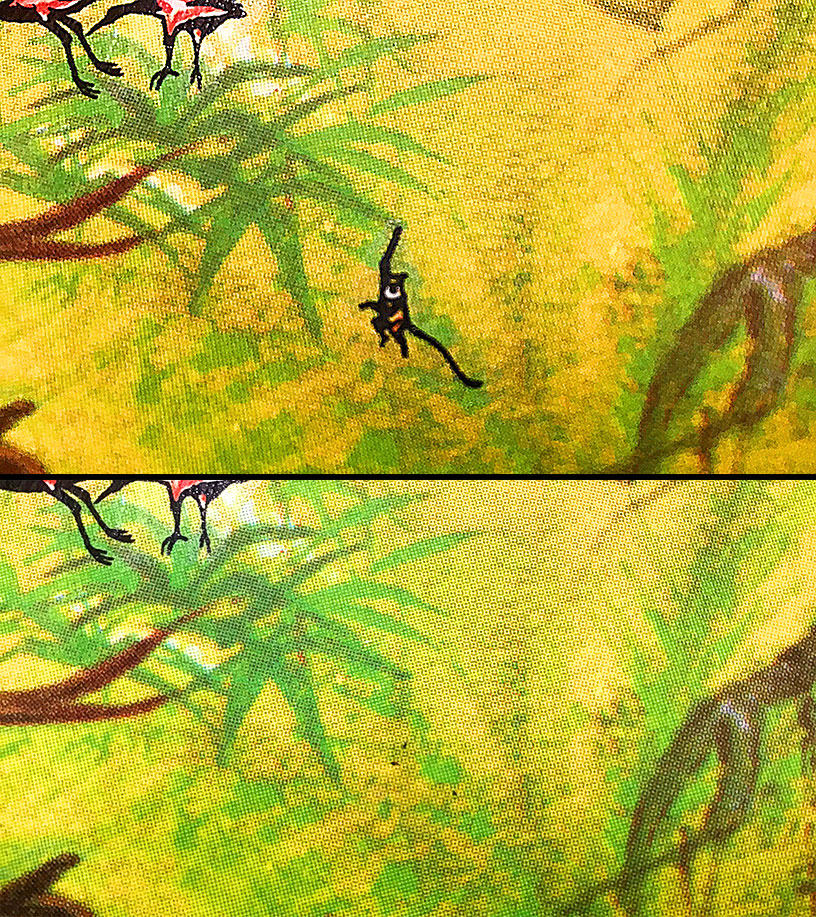
Here's the monkey before removal (top half), & after the first pass with tape (bottom half).
You can't really remove transfers completely in one go using just tape, but here is the monkey & some of his friends after being removed & taped down onto a sheet of acetate.
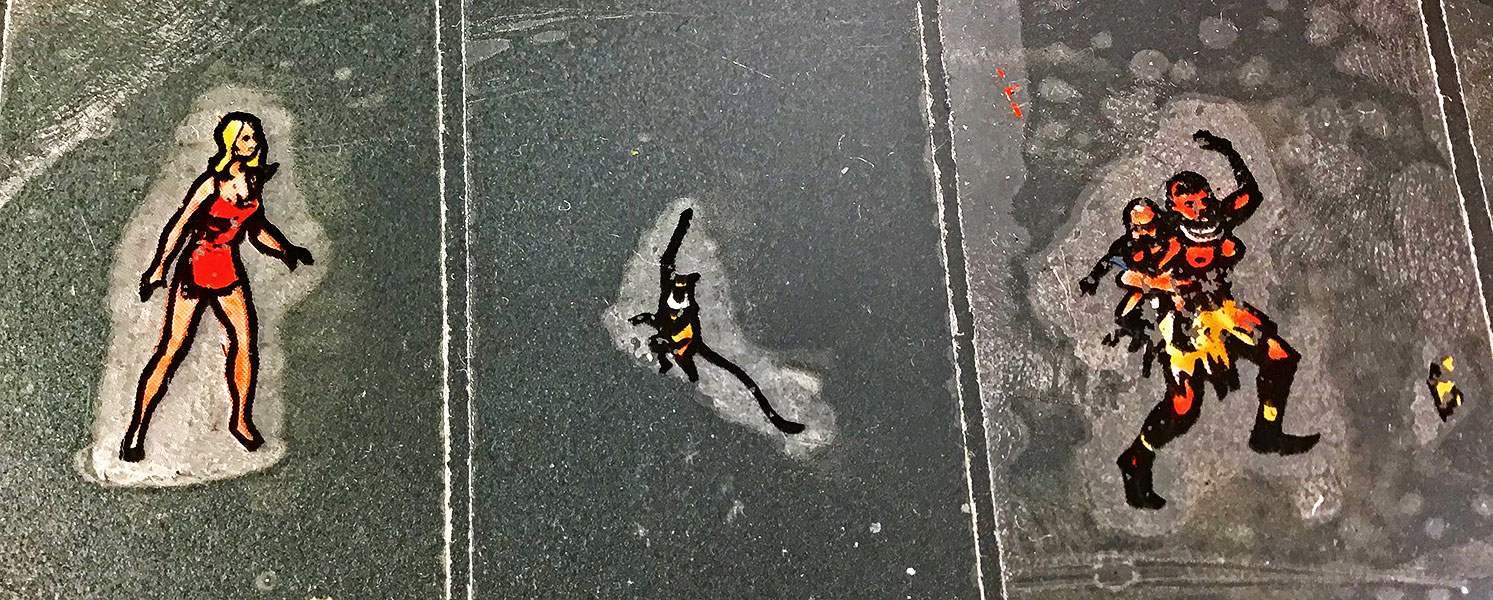
Masking tape is far safer & more effective than sellotape, but of course then you have less to show if you're interested in preserving the transfers. (TIP: you can forget about that!)
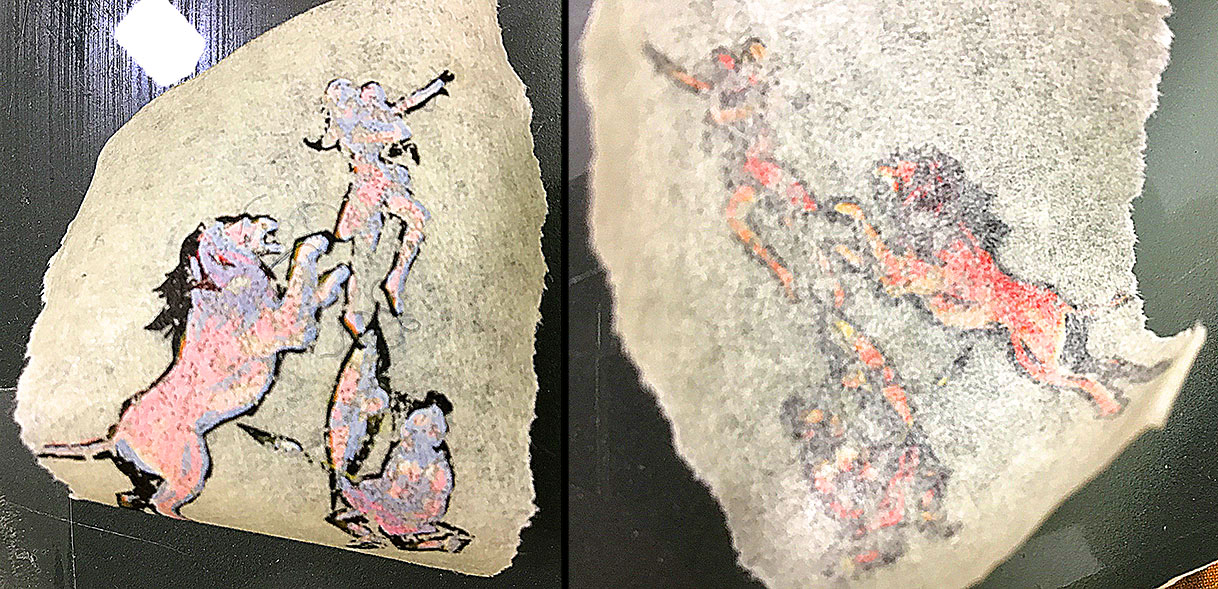
The technique for picking transfers up off the background is exactly the same as for rubbing them down: rub, rub, rub!
The other tool used for transfer removal is a very sharp & clean blade. You can scrape away the transfers without damaging the background as long as you're really careful, & you even get to see the separate layers of ink! In this case, white comes off first, then yellow & then red. Black is last — & on this 'second pass' some black ink still remains.
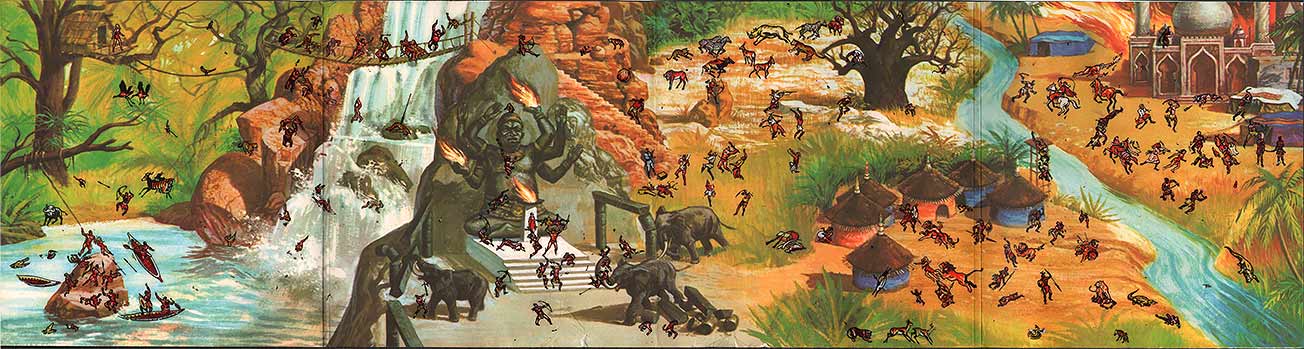
Here's the Tarzan Panorama as it was when I acquired it. It's been scanned at a very high resolution in order to preserve the transfers which are about to be destroyed…
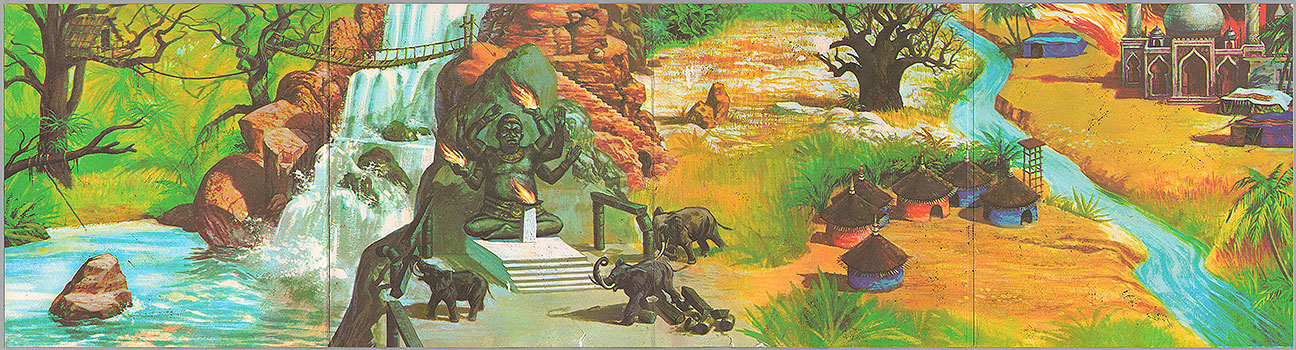
Here's the Tarzan Panorama after the second pass (first pass: masking tape; second pass: scalpel). One more pass with the scalpel, & it should be practically as good as new.
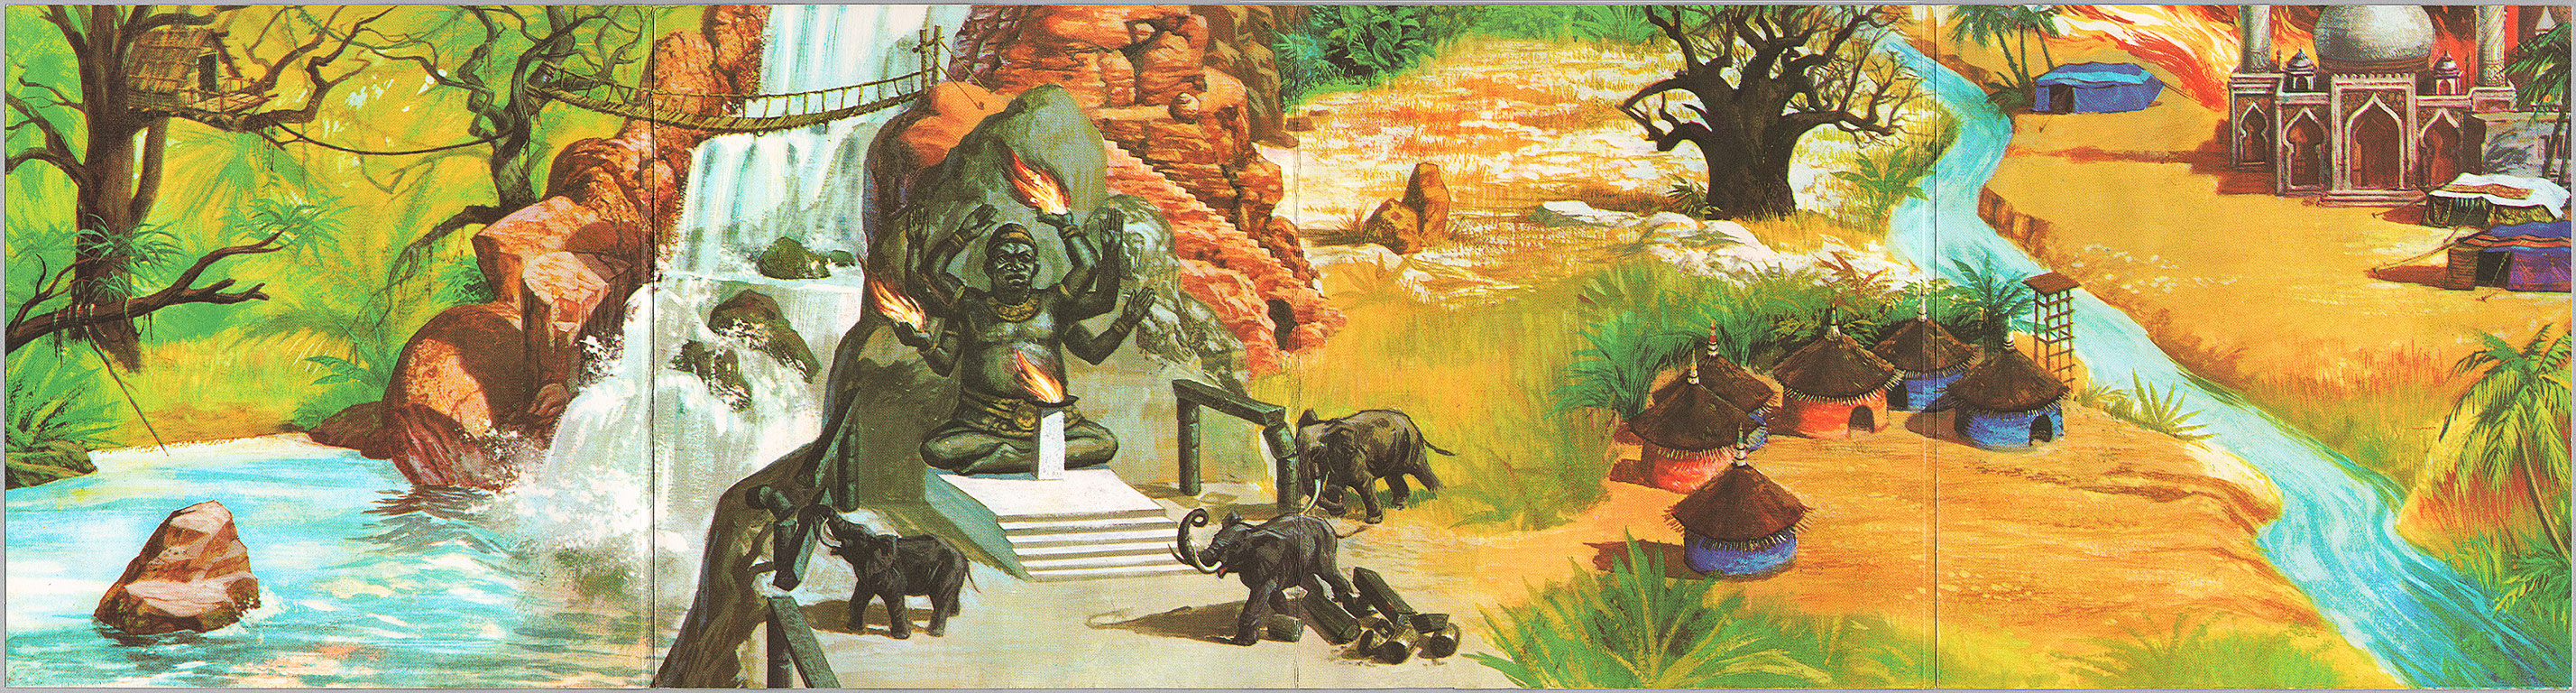
It took a week, but here's the Phase 3 final result. I did try acetone to remove the last traces of transfer, but it tended to spread them like ink rather than dissolve them — so in the end I resorted to digital manipulation. I had to use scans of all three Tarzan Panoramas to get this result, but now it's pretty much exactly as it would have been when the cellophane was first opened back in 1967 — apart from the central crease, which I decided to leave in after all.
On the topic of restoration, see also "Transfer Sheet Restoration".
• Next Page — the Shredded Wheat Promotions →
← Previous Page — the Tarzan Panorama